
Air

frame assembly tips for Classic
9/4/2015
You probably got here from google. Here is all the miss-mash of text and information from word of mouth, from forums, from news casts, emails, Q&A, everything and anything related will be lost in these pages. Use the search tool to dive deeper.
Welcome to the
Paramotor Files
our online filing cabinet
< Custom Conception Paramotors : Paramotor Files
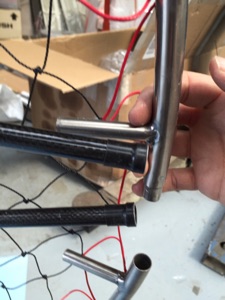
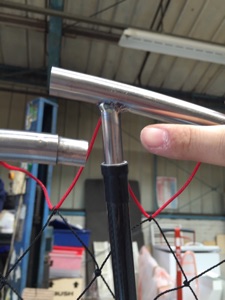
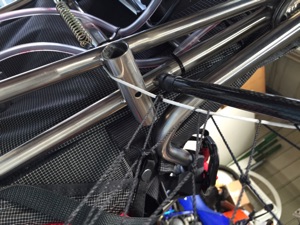
When fitting the side of the frame, it can look misaligned and at first seem difficult to fit the tube.
Simply raise the top stick about an inch and it will slot together easily, with a bit of flex in the carbon tube.
Fit the frame together before adding the velcro fastener.
The velcro fastener does not need to be really tight, just enough to hold it in place.
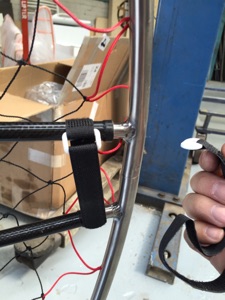
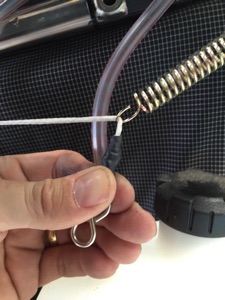
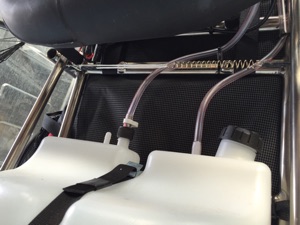
Tensioning the netting. We have a spring with a hook at one end.
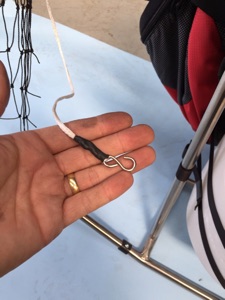
We have a hook with black loop half the way along the tensioning line.
.

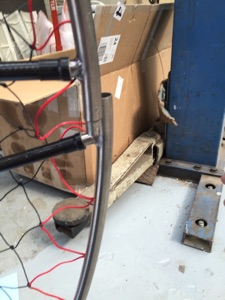
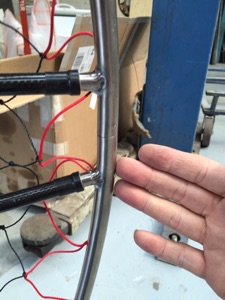
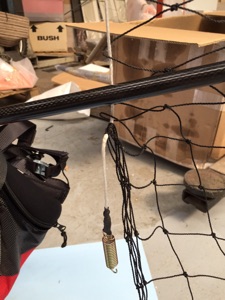
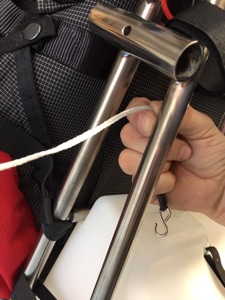
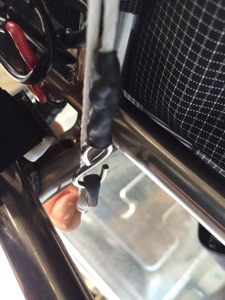
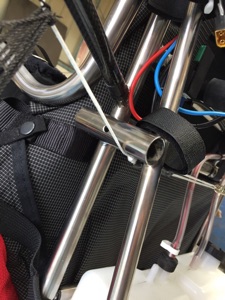
For both sides, pass the line through between the frame bars and under the tube this is for the classic frame (for race frame go over the tube), for the 2 line to meet in the middle
Hook the line through the end of the spring and pull back on itself till the hook meets the black loop. It takes some effort and gives good tension to the netting.
It should look like this when done, the hook is through the black loop.
These pictures show the routing of the net tensioning line for classic frame. For race frame go over the carbon tube to keep tension in the lower netting.
This Ultra used a 4 bolt prop. Jigsaw design (this is the name given to the way the 2 pieces lock together)

Slide the 2 prop halves together.
Make sure the blades are the correct way around to give good thrust.

The prop hub on the Ultra has many options to accommodate a range of props from various manufacturers. 4 holes and 6 holes in 2 sizes.
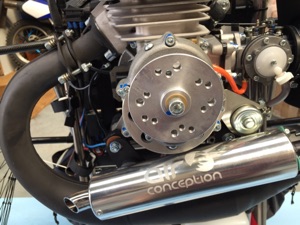
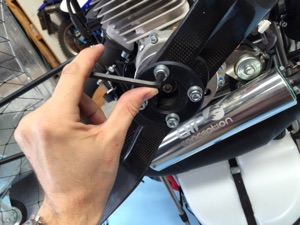
centre the prop on the hub and rotate until the first threaded hole lines up.

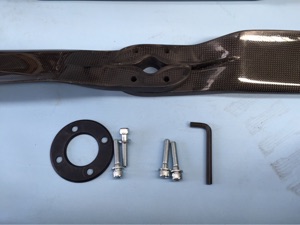
Add load dispersing prop plate and finger tighten all 4 bolts.
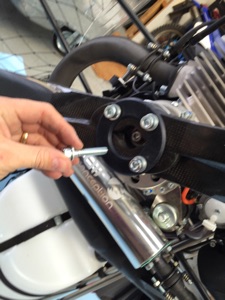
Secure all 4 bolts with allen / hex key. in the order of 1-3-2-4
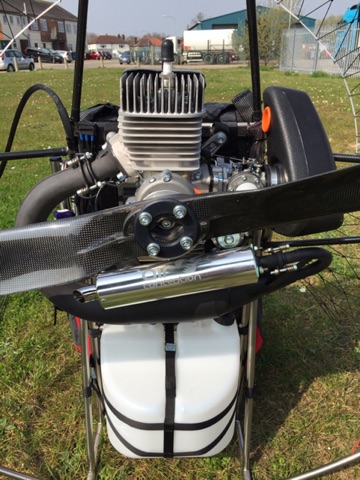
Ready to go.